Making a bamboo cane pole is a fun activity to do with the family, especially with youngins just getting into cane pole fishing.
You can make a DIY cane pole as easy or as sophisticated as you’d like.

In this guide, we’ll show you a few variations, including a simple bamboo cane pole and the most advanced ones imaginable.
Let’s get building!
DIY Bamboo Cane Pole Guide
Let’s learn how to make a bamboo cane fishing pole. First, let’s start with the materials you’ll need to get started:
- Bamboo or a long flexible stick
- Machete or knife to cut limbs

Simple Bamboo Cane Pole Build
Building out the pole
- Start with a 12-24 foot piece of bamboo. The length depends on what size bamboo cane pole you’d like. If you’re making this for a child, feel free to go as small as you’d like.
- Look at the tip of the bamboo. Is it straight? Your goal is to find the straightest bamboo you can find, especially at the tip.
- Take your machete or knife and cut off all the branches so that only the stalk remains. Remember to keep the machete flat against the stalk and cut away from you. If you’re not careful, you might cut into the stalk and need to start over since it’ll likely break at that location.
- Make sure all the notches are smooth, so your line doesn’t hang up on them (always cut towards the tip of the cane pole).
- When you get to the tip, cut off the thinnest portion right above a notch. This will leave enough material to have a strong tip.
- Cut a slit at the top of the cane so you can place your monofilament in there later.

Rigging your bamboo pole
- Take a dacron or monofilament and tie it to the center of your pole just below a notch. Use whatever knot you prefer.
- Rotate the pole so that you twist the line all the way to the tip of your bamboo cane pole.
- When you get to the top, do a half hitch and secure the line in the slit that you made in the tip.
- Leave enough monofilament so that you reach near the handle of the cane pole. Some people like to leave it a little shorter or longer, depending on preference.
- Attach a swivel or hook at the end of the line. If you’d like to control the depth of the hook, go ahead and throw on a bobber and any split shot you might want to add.
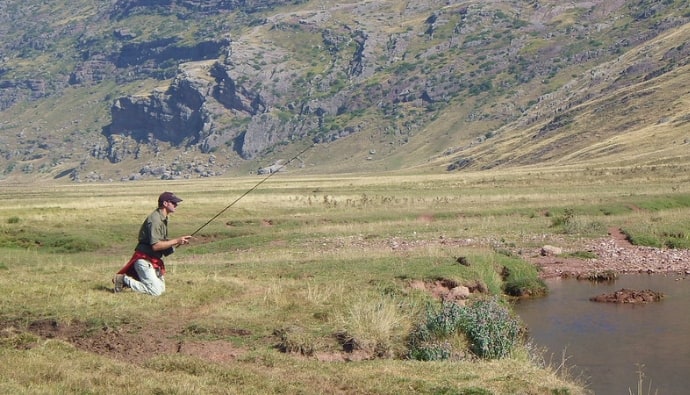
- Add your bait, and you’re ready to test it out.
Making a Kishu Herazao
If you want to dedicate your life to making the best bamboo poles imaginable, then you need to take a trip to Hashimoto City, Wakayama in Japan, to watch a master rod craftsman build a Kishu Herazao.

These rods take six months to make and follow a twelve-step process:
- Drying the raw bamboo: There are three types of bamboo used in this process. Each piece is hand-selected during the winter and sun-dried to prevent mold from forming in the early summer.
- Selecting the right pieces for the pole: These poles are generally three or four pieces. Since there are different characteristics between the different types of bamboo, the craftsman must select the right type of bamboo for the specific weight and responsiveness they are after.
- Firing to straighten the bamboo: One of the most important steps in the process is to heat the bamboo and use a block of hardwood to slowly start to straighten the pole. Little by little, the master gets the bamboo perfectly straight and with the right springiness.
- Removing the insides: In order to get the pieces to fit together, the master must delicately drill out the insides, so they slide together with just the right force.
- Carving: This process gets the tapers on the ends necessary for the pole sections to fit together.
- Winding the silk: This process keeps the ends from splitting.
- Applying lacquer: This lacquer is applied to the silk to give it strength and repeated as many times as necessary.
- Fitting the pieces together: Since these are telescopic poles, the fit between the sections must be just right.
- Adding the grip: This is where the craftsman’s art is shown in full force. These grips are stunning to look at.
- Carving the tip: Fine slits are made in the tip and then glued together to form a tip.
- Applying lacquer to the body of the pole (wiping the body): The entire pole is strengthened and made shiny by coating it with lacquer. It’s been known to cause skin rashes, and it takes mental strength to endure this part of the process.
- Finishing the pole: The finishing touches are added, and the pole is signed to mark completion.
Each one of these steps is done with extreme care by hand. What’s even cooler is that it’s one master craftsman working on the rod from start to finish.
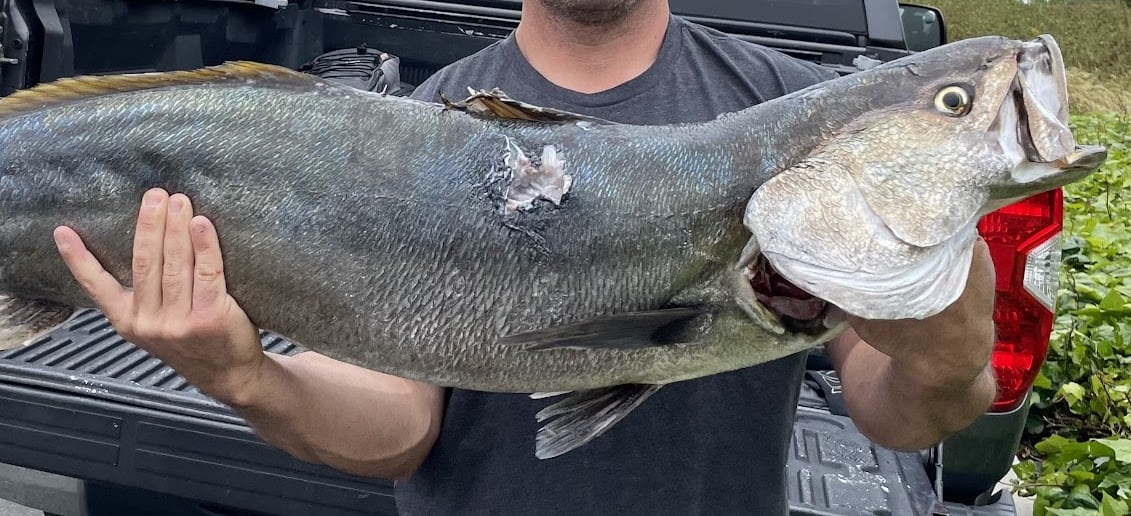
Fishermen who use these poles tend to go after white carp. It’s a spiritual experience watching them fish, especially as they partake in Tanago fishing which is fishing for the smallest fish possible.
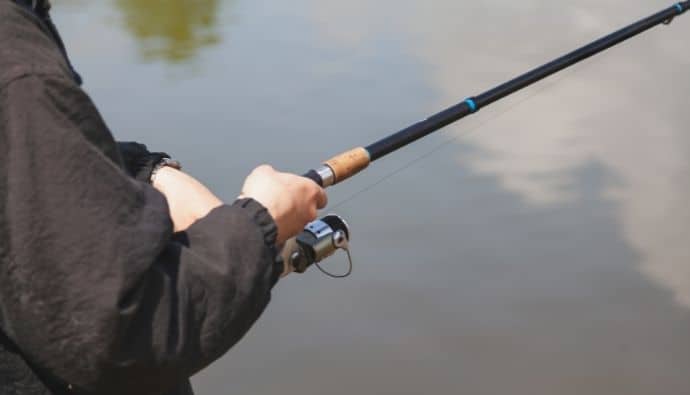
How to Rig a Cane Pole

 Founder & Angler

 Facebook
 YouTube