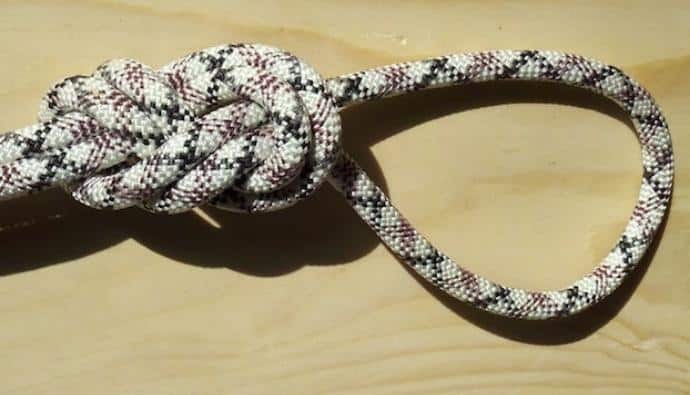
The dropper loop is hands down one of my favorite knots for trying to catch rockfish here in Southern California. It is quick to tie, and you’ll be able to attach hooks, baits, jigs, and more directly above your weight at the bottom.
This dropper loop is integral for the dropper loop rig mentioned above. It also replaces the need for a three-point swivel found in a Paternoster rig.
Let’s learn how to tie a dropper loop!
8 Easy Steps for Tying a Dropper Loop

- Take your line and grab it with both hands. The distance between your hands will dictate how large your dropper loop is.
- Pinch the line in both hands and bring them together to form a loop.
- Use your middle fingers on both hands to keep your loop open. You should have two pieces of the line at the top and one piece away from you.
- Using your index fingers and thumbs, twist the two strands five or more times.
- Using one set of index finger and thumb to reach through the center loop formed between the twists and grab the piece of line.
- Pull the line through the twisted loop and grab it with your teeth and pull tight.
- Now pull the lines tight with your hands to cinch down the knot.
- Congrats! You’ve now created a dropper loop.

Tips
- I prefer to use the dropper loop with monofilament and fluorocarbon leader because they tend to be stiffer and keep the hook away from the lines.
- While it’s preferable to moisten the line before cinching, it can be a bit difficult since your mouth is used to pull tight. I generally don’t moisten and haven’t had a problem with this loop coming undone.
Uses
- The dropper loop is perfect when fishing for deep fish. You can put a few dropper loops on a leader to increase your chances of hooking up while fishing.
- If you go spearfishing, this loop forms a great place for tying on streamers when making a fishing flasher to attract fish.
- Tying these knots on your mainline is fine, too, if you prefer.
- This is a great knot to teach kids who are looking for how to tie fishing knots.
Alternatives
- Australian Plait
- Kreh Loop
- Surgeon’s Loop Knot
- Non-Slip Loop Knot
Advantages
When done right, your dropper loop knots will stick out perpendicular to your main line and keep your hook from tangling while fishing.
Disadvantages
The dropper loop knot is not great when used with a braid because the rigidity of the braid knots isn’t ideal for keeping your hook away from your line.
Frequently Asked Questions
It is used for rigs that need to put one or more hooks down deep. You can change out your hooks, bait, and other lures since they are not held by a knot.
The easiest way to make a dropper loop knot is to form a loop in your line and twist the top two lines around at least five times. Then grab the bottom line formed in your initial loop and yank it through and tighten.
 Founder & Angler

 Facebook
 YouTube