Bleeding fish is a practice that beginner and experienced anglers and fishermen should master.
Bleeding your freshly caught fish (both freshwater and saltwater fish) will not only make it maintain its freshness but also produces the best tasting fish fillets. Just like every procedure in fishing, there are important steps to follow to bleed fish properly.
In this article, we will provide a step-by-step guide on how to bleed a fish.

How to Bleed Fish: Step By Step Guide
There are a couple of reasons why bleeding a fish is important.
For one, it is a humane way to kill fish quickly. When done properly, the fish does not struggle before dying, thereby delaying the onset of rigor mortis. This ensures that your fillet has a firm texture, great fish taste, and long shelf life.
Another reason why bleeding your fish is important is that it keeps your fish clean and fresh. Bleeding your fish also makes it safer for consumption. Blood allows for bacterial growth. Therefore bleeding your fish will prevent harmful growth.
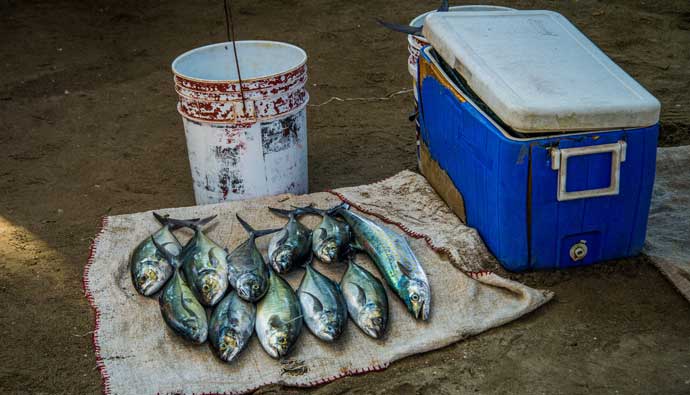
Bleeding a fish is suitable for several different species of fish. As such, you can bleed flounder, mangrove snapper, mackerel, and bluefish.
There are two main methods of bleeding fish which are, killing the fish humanely and pressure bleeding the fish. We have provided step-by-step guides for each method below.
Killing The Fish Humanely
This method enters, stunning the fish and cutting its arteries to get out all the blood.
Ikejime is one of the best ways to kill fish quickly. We talk about it in this video:

Here’s another way to do it so it produces tastier fillets. Items that you need include a cutting board, pocket knife, large bucket, and cleaning stations.
1. Find The Fish’s Brain
The first thing to do is to locate the brain of the fish, which is usually situated behind the eye.
Simply wait for about 15 to 30 minutes after catching the fish. This will ensure that it gets exhausted and weak, thereby reducing its mobility.
When you are sure that the fish is exhausted, you can proceed to place it on a flat surface or cutting board. Hold the fish firmly with your non-dominant hand to keep it in place. If you are worried about the fish hurting you, it is advisable that you wear gloves.
With your dominant hand, touch the area behind the fish’s eye to find a soft spot. This soft spot is where the brain of the fish is located. Once you have found this spot, you can go to the next step.
2. Stun The Fish
After locating the fish’s brain, the next thing to do is to stun the fish. To do that, simply hold the fish in place with your non-dominant hand, and hold your knife in your other hand.
Line up the soft spot behind the eye, and push through the fish’s skin. Press the knife down into the brain of the fish in order to stun it. This may cause the fish to jerk or twitch, but it will stop moving in a matter of seconds.
After stunning the fish, press the knife through the soft spot completely in order to sever the nerves. Once the fish stops jerking, you can remove the knife. Make sure to protect your fingers from the blade of the knife when trying to sever the nerves in order to avoid cutting yourself.
In the case that the fish is still twitching after you press through the soft spot, you might need to cut again. Simply place the knife an inch from the first cut, and press down on the skin.
3. Bleed Out The Arteries
After stunning the fish, the next step is to bleed out the arteries.
To do this, simply lift the gills of the fish to expose the red fleshy area. It is best to lift the gills with your non-dominant hand and cut with your dominant hand.
Holding the knife in your dominant, cut the main arteries of the fish by cutting through the area under the gills. Turn the fish over, lift the other set of gills, and cut through the main arteries again.
Doing this will cause the fish to bleed, so you want to avoid getting more blood on areas that could get stained permanently. To prevent blood from spilling everywhere, you can get fish cleaning stations with raised edges.
4. Drain The Blood
The last step in the procedure is to drain the blood from the fish.
All you have to do is to soak your fish in a big bucket of cold water. The fish only needs to be in the water for about 30 seconds before you take it out.
Make sure to push the fish deep into the water so that the cold water can get into all the veins. In the case that you do not have a bucket of cold water, you can put the fish on ice to bleed it out.
Another option that works is using a hose to rinse out the fish. For boaters, you can attach your fish to a line, pulling it behind your boat to get rinse it out properly.
A similar method to this is percussive stunning.
Pressure-Bleeding Your Fish
This method entails using pressure to rinse out the excess blood from the fish. Items that you need to pressure bleed your fish include a knife, cutting board, gloves, pressure control valve, pipette, hose, spoon, and gloves.
1. Cut Off The Head
The first step is to cut off the head.
This gives you easy access to the main arteries of the fish. It is best to wait and leave the fish for about 15 minutes after catching it before you cut the head off. This will ensure that the fish loses its strength which means it won’t move around too much.
To cut the head of the fish, place its side on a cutting board. Hold it around the middle with your non-dominant hand. With your dominant hand, place your knife behind the fish’s gills and cut from the belly to the spine. Turn the fish on the other side in the same pattern, this time cutting until the head comes off.
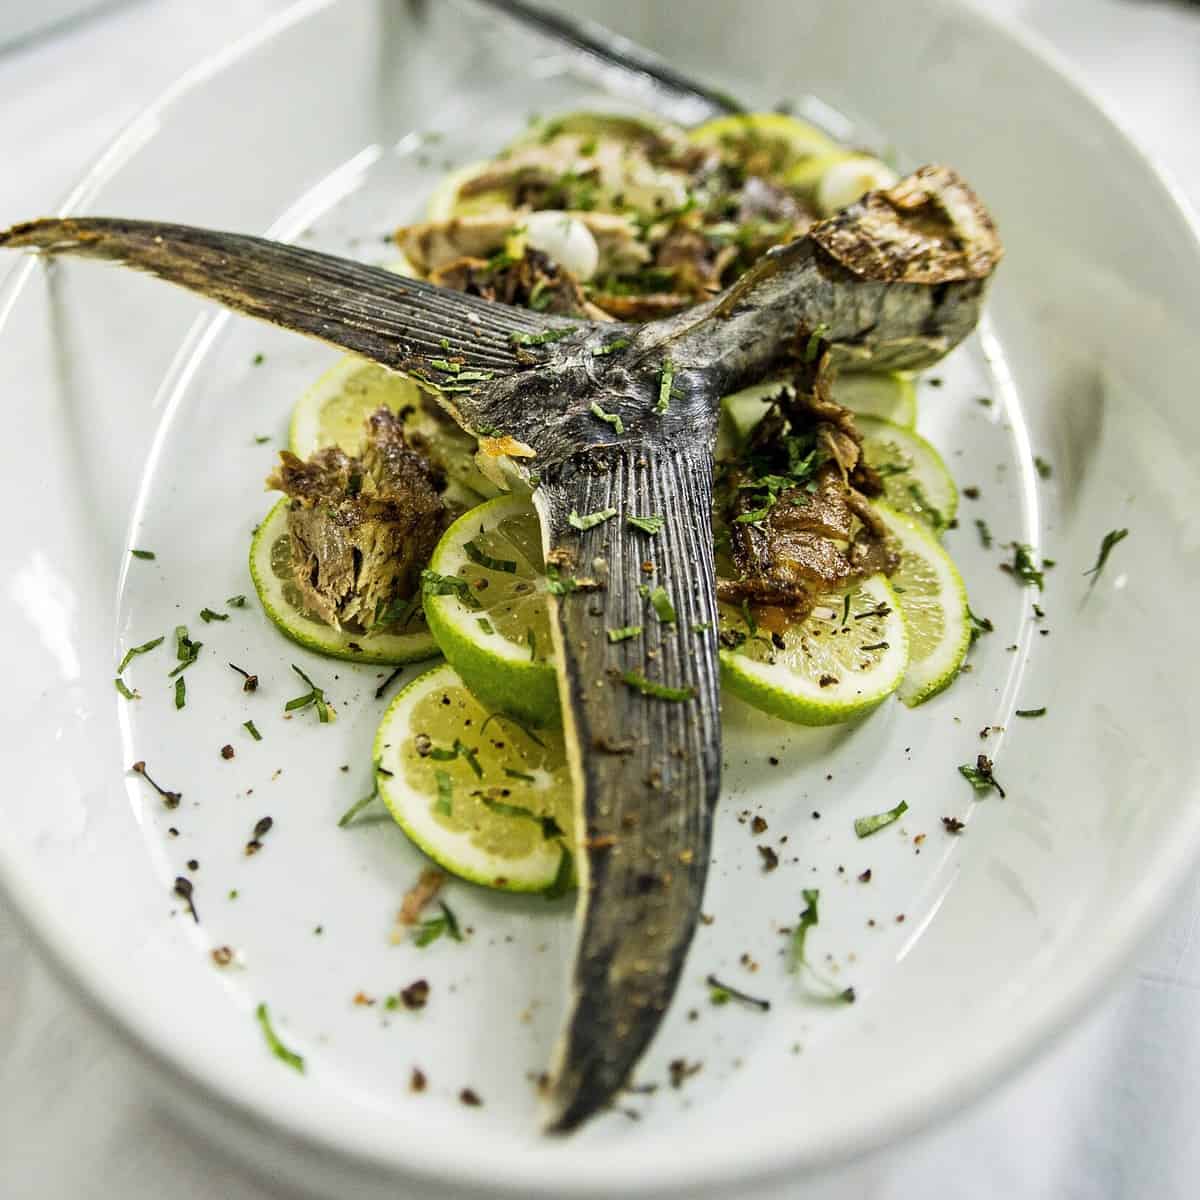
Depending on your preference, you can keep the fish head or dispose of it. If it is your first time, the fish flesh from the fish head is one that you might want to try, as it is tender and fine.
The fish will start bleeding after you cut the head, so be sure to prevent it from staining sensitive items.
2. Clean Your Fish
Now that the head is off, the next step is to clean the other part of the fish.
To do this, you have to make a slit in the belly of the fish. Mark the center of the fish’s belly and cut from the base of the tail up to the throat. The slit should stop an inch away from where you cut the fish’s head.
Opening up the slit, remove the guts of the fish using a spoon or your finger. Take out the bloodline of the fish as well. You can use a pair of gloves when cleaning the fish in order to prevent your hands from getting bloodied.
You can keep the guts to make compost or throw them into the water for other animals to eat fish.
3. Rinse The Fish
The next step after cleaning the fish is to rinse it. Use a hose to run cold water on the body of the fish. Make sure to wash all the insides and meat to get all the blood out. In case you do not have a hose, you can dip your fish into the water to wash it.
4. Attach Your Pipette to the Hose
To ensure that your fish is thoroughly clean, it is best to use a pipette to wash out even more blood.
A pipette is a thin hose that can be attached to the end of a regular hose. You can purchase a pipette from a supply store. A pipette has a pressure control valve. This is what you screw to the end of your hose.
Find the main arteries of the fish and push your pipette into them. Make sure to put the water running through the hose at low pressure. This will wash out all the blood in the arteries and veins of the fish. Using the water at high pressure will affect the meat and spoil your fillets.
5. Store The Fish On Ice
Once the water coming out of the fish is clear, your fish is clean and completely bled. Remove the pipette from the fish and store it. It is best to store your fish on ice to keep it fresh.

Frequently Asked Questions
In this section, we will answer some frequently asked questions about bleeding a fish.
Yes, it is important that you bleed fish. Bleeding a fish provides you with the best-tasting fish, as the fish is clean and firm.
To bleed any fish out, it is essential that you cut the main arteries. This will help you to get all the blood out.
Yes, the best time to bleed fish is right after catching it. This keeps the fish clean and fresh. It also makes the fish safe for consumption by preventing bacteria. In addition, bleeding your fish after catching it gives you a cleaner workspace. This is because you do not have to deal with blood when you cook fish.
Conclusion
Bleeding a fish is a simple yet crucial task. If you are someone that loves to cook fish, you should learn how to bleed a fish to improve the taste of your recipe. Bleeding is suitable for most fish species, so be sure to go with your fishing gear to the best fishing spots.
 Fishing Expert
 Facebook
 YouTube