Knowing how to put a fishing line on a reel is a skill every angler must possess. This is because a fishing line that is not properly spooled will end up getting twisted, broken, or tangled while you are casting.
Putting a fishing line on a fishing reel is simple and quite straightforward, provided you know how to go about it.
This is why we have put together this step-by-step guide to teach beginner anglers how to put fishing lines on a reel.

How to Put Fishing Line on a Reel
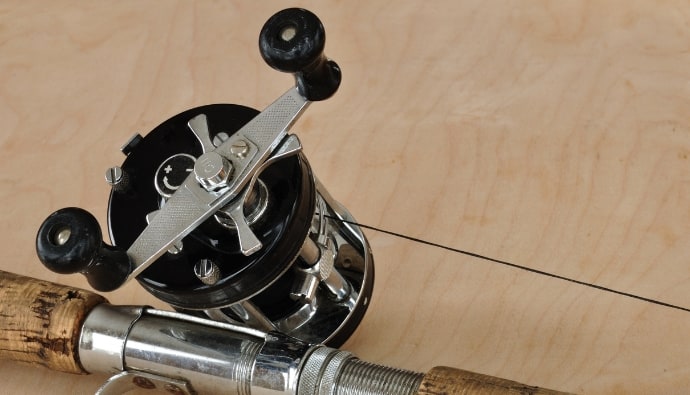
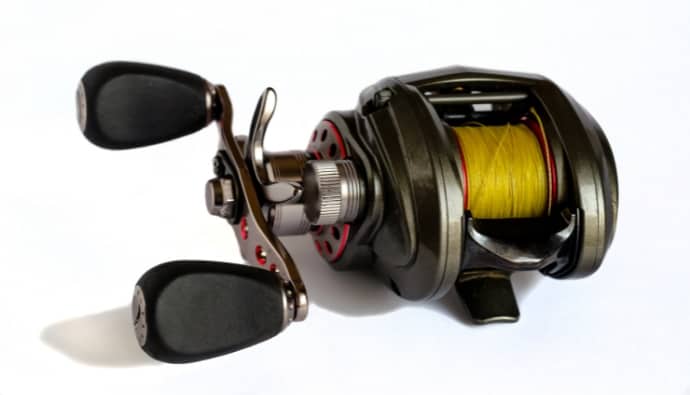
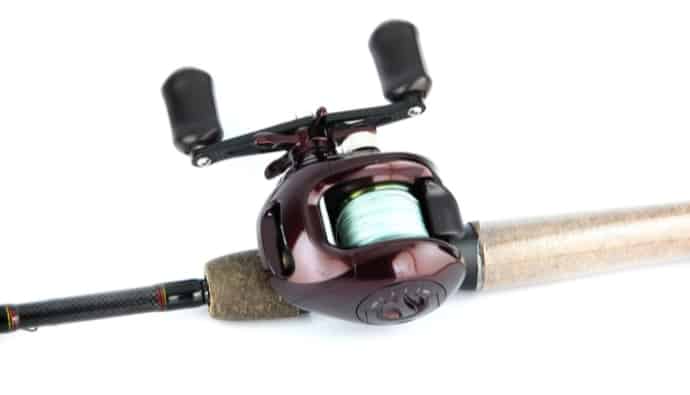
There are two main classifications of fishing reels which are spinning reels and fly reels. Spinning reels are quite easy to use, which is why this article will focus on putting a new line on a spinning reel.
Choosing a Fishing Line
When choosing a new line, selecting one that suits your fishing needs is important. Choosing the right fishing line determines how effective your setup is.
There are three main types of fishing lines for spinning reels. These are:
Braided Lines
Braided lines are suitable for topwater baits, as they sink slowly and maintain high visibility. Braided lines are also suited for long casting distances. They are also durable and do not break easily.
Monofilament Lines
Monofilament lines are suitable for casting live baits. They are quite flexible and are great for bobber use.
Fluorocarbon Lines
Fluorocarbon lines are the least visible and flexible fishing lines on the list. This makes them suitable for fishing in calm water.
As a rule of thumb, you should use a braided line for fishing any fish species that weigh above 12 pounds.
This is due to the durability and sturdiness of braided lines. They also provide a direct connection to your bait and catch.
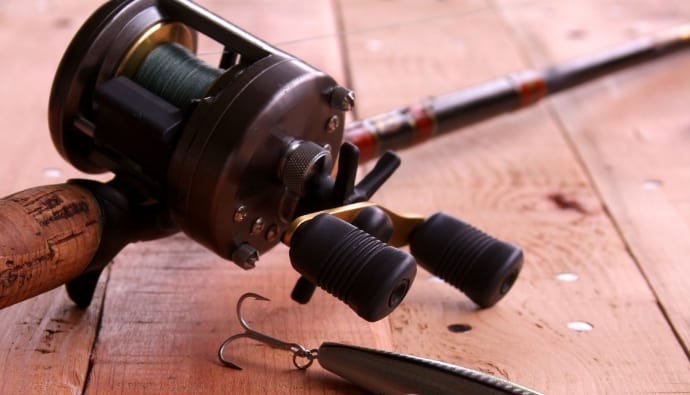
Tools Needed to Put A Fishing Line on a Spinning Reel
Certain tools are vital for putting a fishing line on a spinning reel. These tools are highlighted below.
- The spinning reel.
- Your fishing rod.
- Electric tape.
- Thick cloth.
- A pair of scissors and a long screwdriver.
- Your fishing line.
Step by Step Instructions for Putting a Fishing Line on a Reel
At this point, you must have decided on a fishing line and gotten your tools ready. So we can discuss how to put a fishing line on your spinning reel in simple steps.
- Step 1: The Setup
Setting up properly reduces the chances of your fishing line getting twisted, tangled, or broken. Start by putting your fishing rod together, ensuring that all the eyes line up.
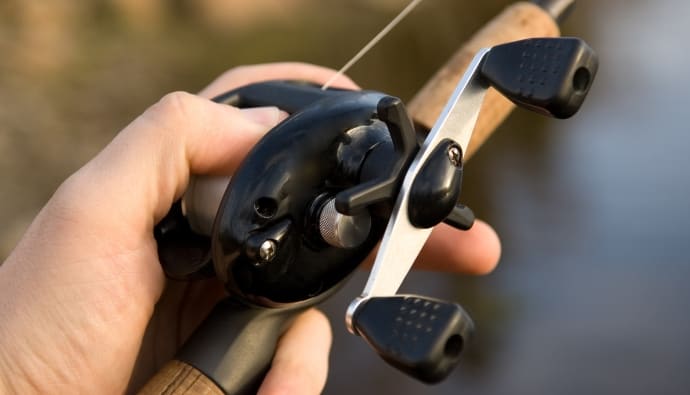
Follow this by attaching your spinning reel, putting it in the reel seat, and tightening it until it is attached securely. It is important to note the direction the reel turns in. This will enable you to mirror the way that the two spools unwind.
When installing the line, ensure it unwinds onto one spool in the same direction that it is unwinding off the other. Ensure the line and reel are in the same direction to avoid line twists. - Step 2: Attach and Thread The Line
The next thing to do is to attach your line. Again, it would help if you used a line type that is suited to your fishing style. Slowly take out about 15 feet of line from the spool.
This will help you to avoid line twists and tangles. Follow this by threading the line through the rod’s eyes, starting at the top of the rod and stopping at the reel, in case you use a monofilament line as backing for a braided line.
Make sure to put the monofilament line before the braided line. - Step 3: Open the Bail
This is one step that is easy to forget. Failing to open the bail after attaching your line can set you back a few steps.
Get this step out of the way by opening the reel’s bail arm. Leave the bail open while tying your line. - Step 4: Attach Your Line to the Reel Spool
To attach your line to the reel spool, wrap it around the spool twice and tighten it using an overhand knot. An arbor knot is best suited for a bait runner.
Finish this by trimming the tag end. Leaving some of the old lines is a good option if you restring the reel with a new line.
In this case, the old line serves as backing for the new line. Secure the old line to the new line using a uni knot. - Step 5: Wind Your Line onto the Reel
After attaching your line to the reel spool, the next step is to wind your line onto the reel. It is important to do this slowly to avoid line twists.
Hold the spool in the thick cloth with one hand, and start winding with your free hand using the screwdriver.
Using the thick cloth, put pressure on the spool while you wind. This ensures that the line is wound tightly onto the reel. Close the bail, and you can proceed to check the line spool orientation. - Step 6: Check Your Line Spool Orientation
The line spool orientation you want to get is the face of your spool facing in your direction. Hold your rod straight and put your line spool on the floor.
Make sure that the line spool has its label facing in your direction. Once it is in this position, you can start cranking your reel.
Stop after ten cranks to check the position of the line. At this point, you should find loose lines in relaxed loops on the floor. If your loops are not in relaxed coils, you must go over the entire process again. - Step 7: Fill The Spool
After verifying that the line spool orientation is correct, all that is left is to fill the reel spool with the line.
Crank the line slowly until it is close to the spool’s lips. You can then clip the line, tape the free end, and secure it with a rubber band.
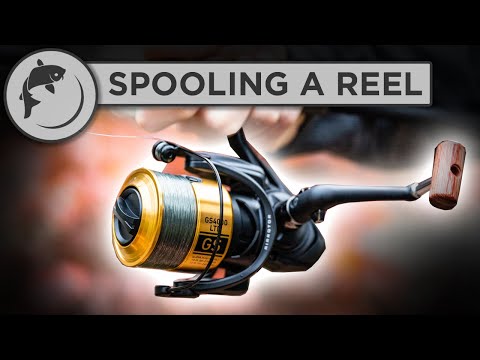
You can also watch this video:
Your line’s shelf life depends on several factors, including storage, fishing style, and frequency of usage. Fluorocarbon lines can last about seven years. Monofilament lines last about two to three years, and braided lines last about ten years.
Conclusion
As a beginner angler, putting a line on a spinning reel might seem to be a herculean task. By following the tips above, you are sure to get it right in no time.
On your first attempt, it helps if you have someone around. They can help you to hold your tools and assist in getting the line spools right as well.
Be sure about the area where you are fishing and the species of fish you will encounter. This will help you to make the right choice of fishing line. Too much line lead to line twists, wind knots, and tangled lines.
As such, it is essential always to leave a space of 0.3cm between the line and the spool’s lips. This universal rule will keep your line in good shape for a long time.
 Fishing Expert
 Facebook
 YouTube