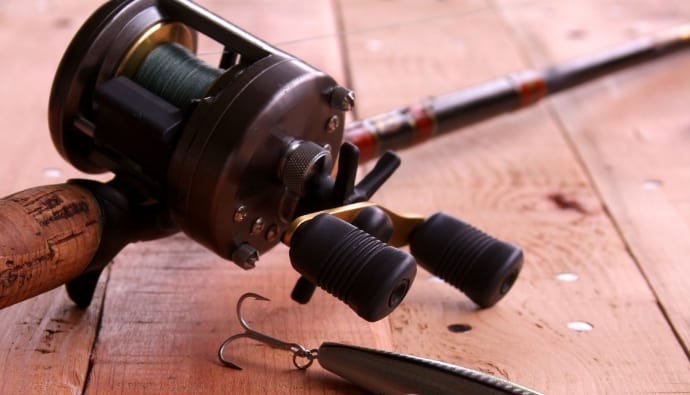
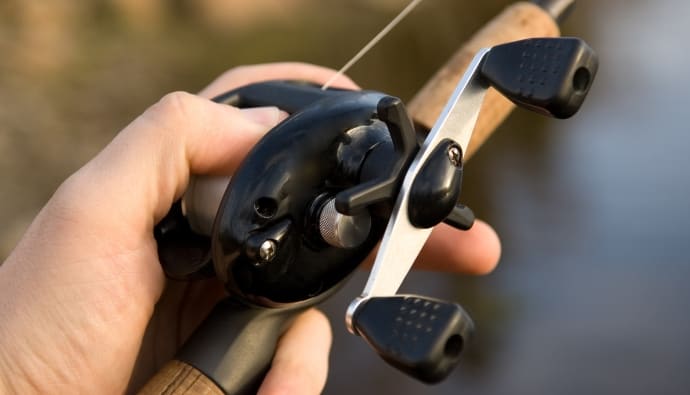
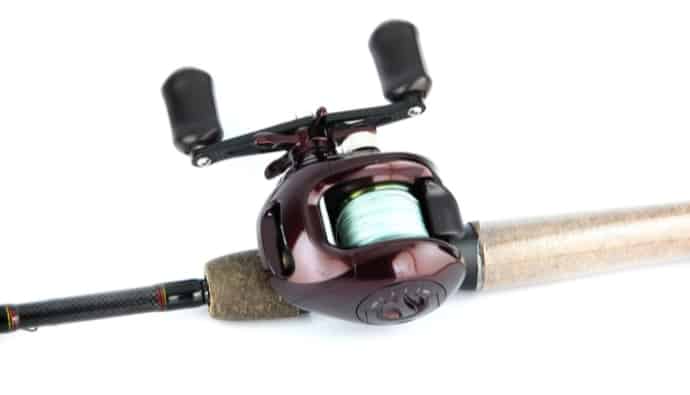
Spooling a bait caster reel properly is important to avoid line troubles like backlash and line twists when casting. As a beginner angler, spooling your baitcasting reel might prove to be a herculean task.
However, with the right selection of fishing lines in the appropriate size, do not fear. The task is not impossible. In this article, we provide a step-by-step guide on how to spool a baitcaster reel.
Step-by-Step Guide
Before we go into the step-by-step guide to spool a bait caster reel, it is important to ensure that you have the right gear and fishing line.
Spooling a bait caster reel is quite different from spooling a spinning reel, so you have to check that you have the right tools.
Tools Needed for Spooling A Baitcaster Reel
Below are the major tools you need to spool a bait caster reel.
- Fishing rod
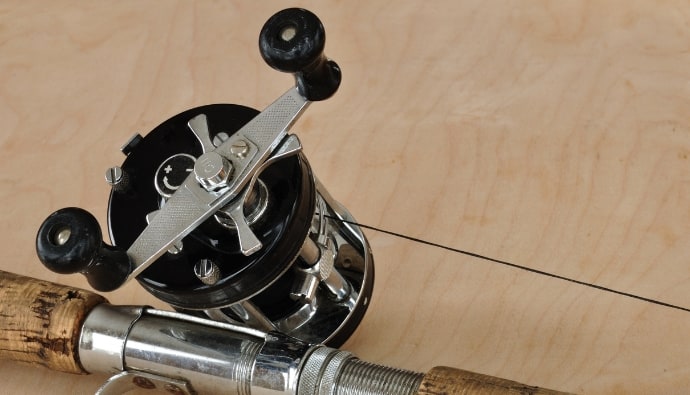
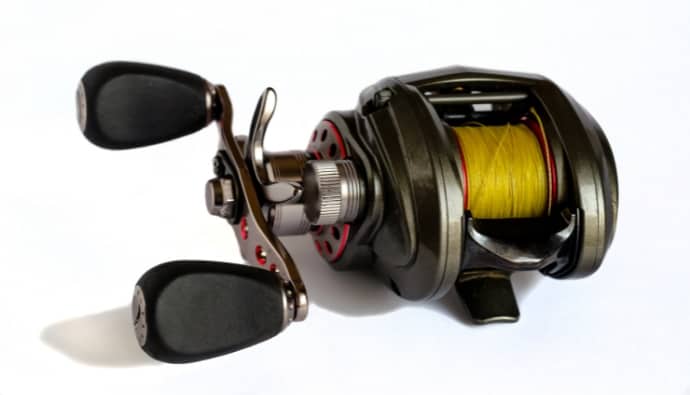
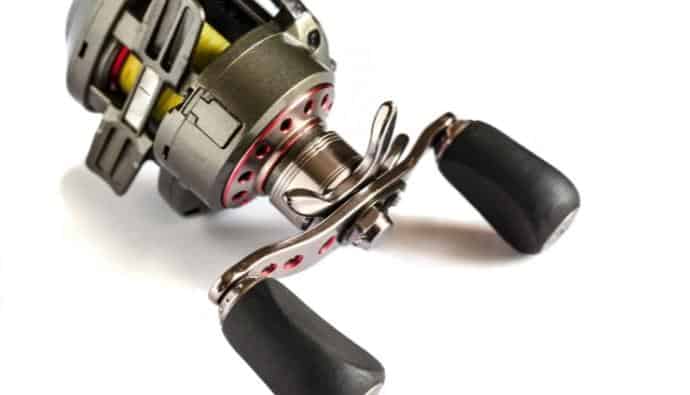
- Baitcaster reel
- Fishing line
- Nippers for cutting excess line
- Pencil
- Lure or hook to tie the end of the line
Having a fellow fisherman around to assist makes things easier, but you can always manage if there is no one around.
Choosing Your Fishing Line
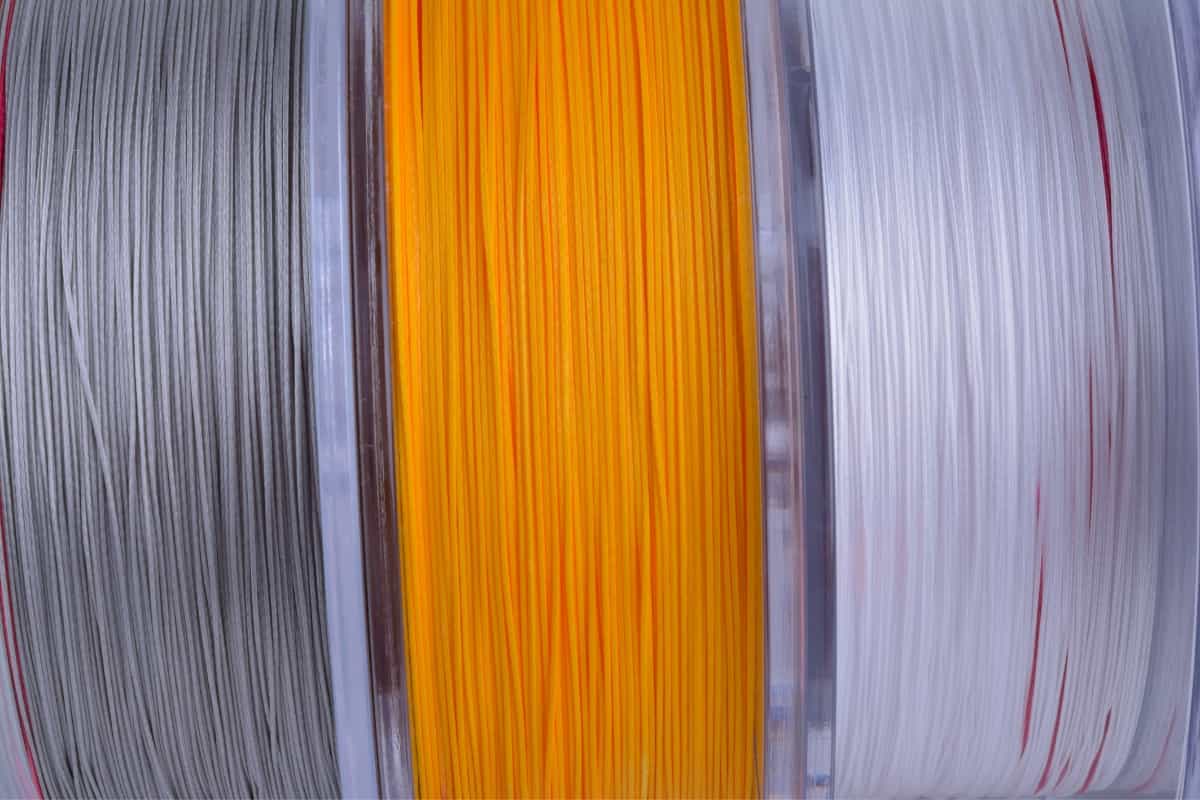
Your fishing line choice must be well-informed to avoid dealing with line problems on the water. There are three main types of fishing lines for spooling a bait caster reel, which is:
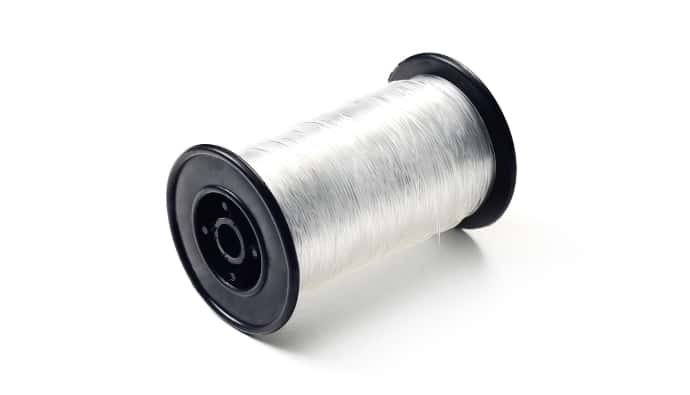
Monofilament Line
Monofilament lines are suitable for casting topwater lures, as they float well on water. They also generate the least backlash of any fishing line when used with bait caster reels.
Monofilament lines have low visibility, making them reliable in clear water. Monofilament lines are also great as a backing line for braided lines. The downside to monofilament lines is their flexibility, which makes it stressful to set hooks.
For beginners, it is best to go with a monofilament line due to its low tendency for backlash and affordability.
Fluorocarbon Line
When it comes to invisibility, the fluorocarbon line is the best choice. This makes them suitable for clear and calm water.
On the downside, fluorocarbon lines are known to generate backlash when used with baitcasting reels. They are also quite pricey.
Braided Line
Braided lines are the strongest fishing lines to use with a bait caster reel. They are great for long casting distances as they do not break easily.
Braided lines are durable and sturdy, making them suitable for topwater baits. The high visibility of braided lines is the main downside to using them. Braided lines are best used with a monofilament backing.
Before You Start
The Knot
Getting the line onto the spool is the first and most crucial step an angler takes throughout this entire process. Keeping the night as small as possible to prevent entanglement later on, is very important.
The arbor knot is simple and consists of two overhand knots tied in tandem. The most challenging part of this knot is that it requires the angler to tighten the initial notch slowly, allowing for slippage of the line to get friction.
Tension
If not, it’s not the most important piece, then maintaining tension on the line certainly is. If done incorrectly, failing to keep tension on the line will result in spooling problems that include knots and loops.
We’ve all seen anglers get halfway through a cast, and then their line is jerked short by a malfunction inside the reel.
With bait casters, this problem only worsens; birds-nest, jerkiness, loss of accuracy, and even lures can occur from the improperly spooled line, all resulting from the failure to maintain tension.
Even the smallest of slips can cause the integrity of the line to be weakened and lead to malfunctions much later on. The adage measure twice, cut once is applicable when spooling a bait caster.
How to Spool a Baitcaster Reel
Spooling a baitcasting reel is best done using an arbor knot. An arbor knot is a simple knot made up of two overhand knots.
Tension is often required during the process of reeling in your new line. Below are the detailed steps to follow when spooling your bait caster reel.
- Step 1: Set Up Your Baitcaster Reel
The first step is to set up your bait caster reel to get it done right. Start by attaching your bait caster reel to the fishing rod.
Follow this by passing the fishing line through the line guide. Doing this correctly is very important to distribute the line evenly and apply tension when needed. - Step 2: Loop The Line
After setting up your bait caster reel, the next thing to do is to loop the line around the spool. There are two ways to go about this step, depending on the type of reel that you are using.
If your reel spool has holes, pass the line through the holes before twisting the reel handle to get it around the spool. If the spool of your reel does not have holes, wrap the line around the spool and tie.
Check that the filler and spool rotate in the same direction to avoid line twists.
When spooling a bait caster line, you need a new spool of line to be fed directly onto the reel. This is where your pencil comes in.
Pass the pencil through the middle of the reel to ensure that the line rotates freely. - Step 3: Tie An Arbor Knot
The next step to take is to tie an arbor knot around the spool. As explained earlier, an arbor knot is made up of two overhand knots.
When tying the arbor knots, you have to make sure that the overhand knots tighten enough to produce friction. Loose knots defeat the purpose, so you must make tight knots. - Step 4: Maintain Tension
Tension is required to spool your reel properly. You can maintain tension on the line by pinching it in front of the reel before you start reeling the spool in.
The trick here is to find a balance. Pinching the line too tight will make it impossible to reel the spool in. You, therefore, need to pinch it just enough to keep it tight.
It is important to be gentle if you use a monofilament or fluorocarbon line, as these lines are flexible and stretch under tension.
Start reeling the line in until you have a full spool. To prevent backlash, leave a 1/8-inch gap between the line and the spool’s edge. - Step 5: Pass The Line Through the Rod Guides
Feed the lines through the rod guides, as this will give you an extra line for proper casting.
- Step 6: Tie Off a Lure to the End of the Line
Once you have carried out all these steps, all that is left is to tie a hook or lure to the end of the line. The purpose of tying a lure to the line is to prevent it from backing up the reel.
Frequently Asked Questions
This section will answer some frequently asked questions about spooling a bait caster reel.
Most reels come with a specification of how many lines they can hold at any given time. If you are unsure how much line is enough, simply fill up the reel until you have a 1/8-inch gap between the line and the spool’s edge.
A braided line is quite different from monofilament and fluorocarbon lines in the sense that it is smooth. This causes them to slip when used to spool a bait caster reel.
The solution to this problem is using a monofilament line as backing. The monofilament line fills the first third of the reel. Then you attach your braided line using a double uni knot.
Conclusion
Spooling a bait caster reel is a task that can be completed in minutes. All you need to do is to follow the correct steps.
Find a fisherman friend to help you out for the first few times until you get the hang of it. Ultimately, it is important always to use the required gear to get the best result.


 Facebook
 YouTube