To use a spinning reel, start by holding it with your dominant hand. Ensure the reel is between your ring finger and index finger. Next, place your opposite hand on the rod and ensure you set it at the same level as your waist. Also, ensure the 8-16 inches line is hanging below your rod tip to the lure. Use your pointer finger to pinch the fishing line to your spinning rod. Once you open the bail, you’ll create a free spool and a line roller to help the line flow freely. Next, place the rod perpendicular to your body and swing the rod forward from rear to front while assuming a 180-degree rotation. Then release the line from the pinch while taking around 130 degrees. Lastly, close the bail using your opposite hand when the lure get’s the water and pull the line to get to your catch.
Most anglers prefer using spinning reels because they’re easy to use. If you’ve never used a spinning reel, don’t worry. This guide shares everything you need to know about using the spinning reel.
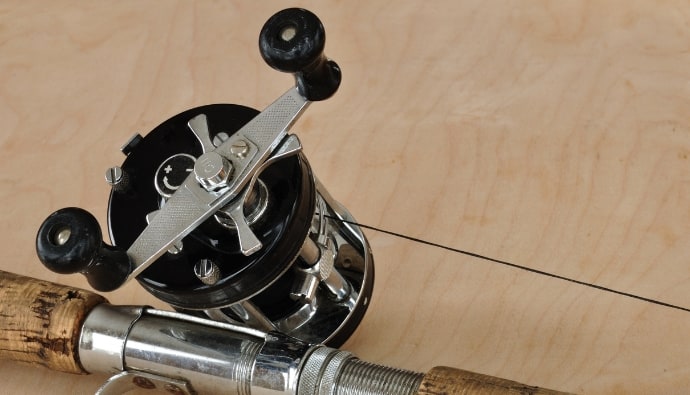
About Spinning Reels
To properly use a spinning reel, you first have to learn about what makes it different from other reels.
A spinning reel, often known as an open-face reel, is attached to the rod directly beneath them.
Fixed-spool reels are the most common type of spinning reel. They do not revolve. Its name comes from the rotor, spins, and oscillates around the spool, evenly laying the line back on it.
Spinning reels are also more precise when compared to baitcast reels, and they allow you to toss further. One of the most significant advantages of these reels is their line capacity.
The line can run freely during casting. The spool is merely unraveling the line. It also excels at using lighter lures, which are frequently required for finesse fishing. It is also more wind resistant compared to the baitcasting reel.
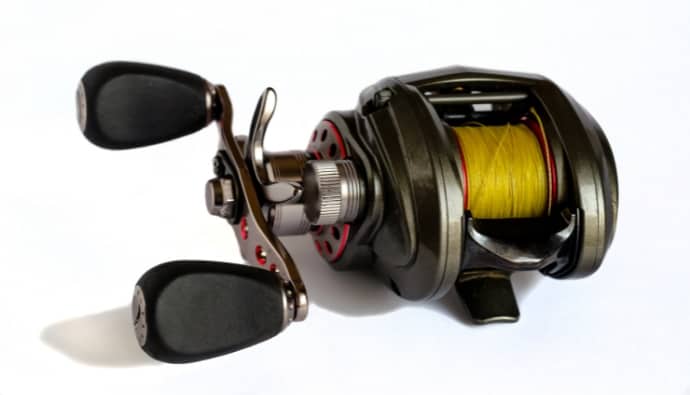
Components of a Spinning Reel

Spinning reels are known for ease of use and the ability to catch a variety of fish. It has a user-friendly spool for casting and a drag system adjusted for fishing. It’s great for beginner anglers who want to utilize their spinning tackle to perfect their cast.
While all levels of anglers utilize a spinning rod and spinning reel, it is especially suitable for beginners. Before learning how to use a spinning reel, we must first understand its components.
Fishing Line
The fishing line you use is entirely determined by the type of fish you are targeting. Their longevity is determined by how much you use them. You can change your old line to a new line at least once a year. Though many prefer to change it after every use.
You can check out our article on the best fishing line for spinning reel to help you choose the right one for you.
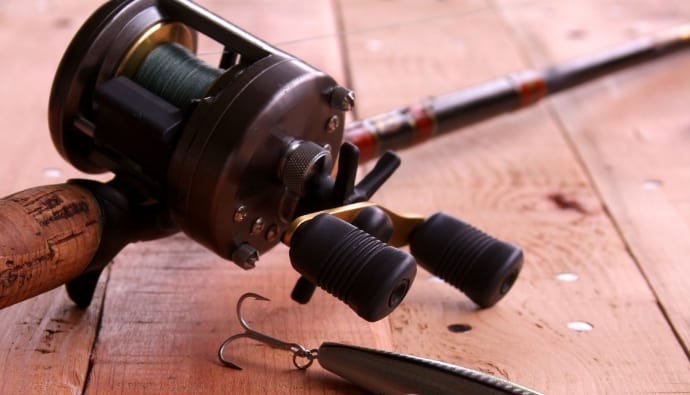
Bait and Hook
The type of bait or hook you’ll use is also determined by the species of fish you are targeting. Do some research because a bait or hook can sometimes be too small or big for a fish’s mouth. Also, bring a variety of baits because fish gets lured on different days.
Bail
The bail is a metal arm that prevents the line from exiting the spool.

How to Cast a Spinning Reel: Step by Step

Casting with a spinning reel has a learning curve. Getting to the skill level to put some distance on your cast and acquire some accuracy takes some time.
A spin cast reel has a fixed spool; thus, the lure’s weight is what does the work. Lighter lures are preferable to heavy lures. It’s tempting to try to outstretch the toss. But this is a particular method to clog up your spool with a line.
For beginners, here is the step-by-step guide on how to cast a spinning reel.
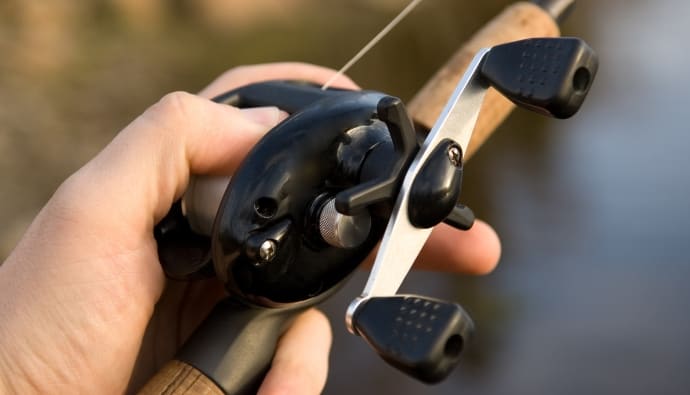
Step 1
Begin by holding the spinning rod in your dominant hand. Place the reel handle between your index finger and ring finger. Using your index finger, pinch the line to your rod then flip the bail open.
Step 2
Place your opposite hand on the rod’s butt.
- You should hold the rod at waist level in front of you. You should also make sure that the reel foot connects precisely beneath it.
- You’ll then want 8 to 16 inches (20 to 40 cm) of line hanging below the rod tip to your lure. If you have much or little length here, it will affect the accuracy and distance of your throwing. You can rotate the reel handle if you are not satisfied with the location of your bait or lure.
Step 3
With your pointer finger, pinch the fishing line to your spinning rod rod and open the bail. It will create a free spool along with the line roller where it can now flow freely. Throughout the process, keep the fishing line intact.
Step 4
Return the rod to a perpendicular position to your body by lifting it back over your shoulder.
Step 5
Swing the rod forward from rear to front in a 180-degree rotation. Move it along quickly. Make an effort to point the top of your head in the same direction as your chosen destination.
Step 6
Release the line from your pinch at about 130 degrees during the process. The line will be pulled off the reel by the lure. If you the line too far, you can easily bring your line in by simply turning the reel handle clockwise.
Step 7
Close the bail arm with your opposite hand when your lure lands. Pull line to get the fish.
It will take some time for the inexperienced, despite how simple it appears. Don’t get too worked up over it. There’s a reason a spinning reel is one of the most popular reels among avid anglers. But with enough practice, you’ll be able to accomplish it in no time.
Tip! Use your nondominant hand on the pole bottom to stabilize, although some prefer to use one hand. By using both hands, you’ll have a better accuracy.
Working the Drag
Learning how to control your drag system will save you time and money. It allows a larger catch with lighter gear. This is a part that sets tension on your fishing line. You can set it as you wish.
A collection of friction plates within a fishing reel acts as the drag. There’s a knob on the spool that regulates the plates. By operating the drag knob, you are adjusting the friction.
- Loosen the pressure by turning to the left. The looser it is, the more control fish has, but also, there will be lighter tension on your line.
- Tighten the tension by rotating to the right. If you set it up to be tight, fish can’t do much, but you’ll have pressure tension on the line.
When a fish fights as you reel in, the drag allows the tension in your spool. It then feeds the line to gradually relax without slack.
As a fighting fish pulls on a stiff line with no stretch, the pressure can cause the line to shatter. When you set the drag correctly, you can stay tautly connected to it and give it enough line back.
To test the drag:
1. Close the bail, then draw the line from the front of the reel with your hand.
2. Try to replicate the draw of a fish that is the same size as your target and adjust accordingly. When the rod is loaded up, you can adjust the knob to regulate your drag while fighting it.
3. When there isn’t enough or too much line feeding out, change it.
Moreover, the equipment has a feature called the anti-reverse switch. The word itself, anti-reverse, lets you reel in reverse instead of relying on your drag system for line tension. Anti-reverse is available on some reels, allowing you to choose whether or not to use them.
You’ll be a far more effective angler with fewer line breaks if you become competent with drag settings. Also, be aware of the environment before hooking up on a fish.
Tip! If you’re into saltwater fishing, check our article on the best saltwater spinning reel.
Conclusion
Spincast reels give the angler a lot of options when it comes to different fishing approaches, unlike baitcaster reels. It may be used for nearly anything, depending on its size. It is simple to learn how to cast, maintain, and utilize a reel properly.
It also has some drawbacks, but its benefits far outweigh them. Many kinds of fishing rod equipment are available in your local fishing store. You can choose to purchase your own spinning rods and reel. Nonetheless, you’ll have no trouble finding the one that’s suitable for your needs.
 Founder & Angler

 Facebook
 YouTube