The overhand knot should be at the top of your list; among other knots, you must learn as an angler. It’s ideal for hook lengths, simple, and easy for newbie anglers.
The overhand knot earned the nickname “the simplest of the Single-Strand Stopper Knots.” You can combine two line pieces and push the knots together using this technique. You can also thread the hook length out of the mainline loop.
The result? You have easy switching between thinner and thicker hook lengths.
Make sure to learn the three knots with this technique. These are the overhand knot, double overhand, and overhand knot on the rope’s center.
Here’s how to tie an overhand knot!
Listen to more knot-tying tips on the Cast & Spear Podcast
Tying a Basic Overhand Knot

As its name implies, making this is straightforward. Yet, the uses for this knot are far too many and even go beyond angling purposes.
And if you’re looking to try the Palomar knot, the go-to knot of professional anglers like Ish Monroe and Luke Clausen, you’ll need to go through the basics first. Here are the steps on how to tie an overhand knot in its simplest form:
Time needed: 1 minute
How to tie an overhand knot:
- Make a bend in the line
Simply cross one end of the rope over the other to create a simple circular loop. The knot will be positioned near the bottom of the small loop.
- The tag end wraps the mainline
Pass the end of the rope through while keeping the loop intact. A basic crossover and a tiny circle should be made.
- Pull the two ends away from each other
Grab the rope’s end and a piece above your loop. Then, just move your hands apart to confirm a tight overhand knot.
You may need to tug at the knot’s edges to loosen it. But once you can slide the end of the rope through, you should be able to untie it.
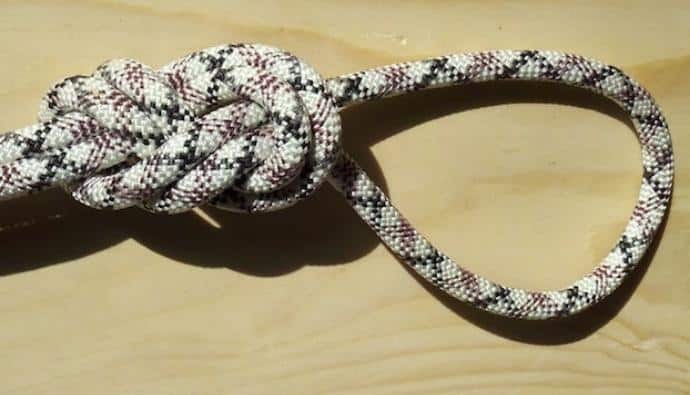
This knot isn’t tied tightly or big, but it serves a purpose. It is frequently used as a stopper to keep the rope flowing back through a hole or opening. It can also prevent the occurrence of unraveling or fraying at the end of a hanging rope.
Tying a Double Overhand Knot

This knot is like the level two overhand knot tying. These steps may seem a bit complex, but I remember the blissful satisfaction the first time I tied this.
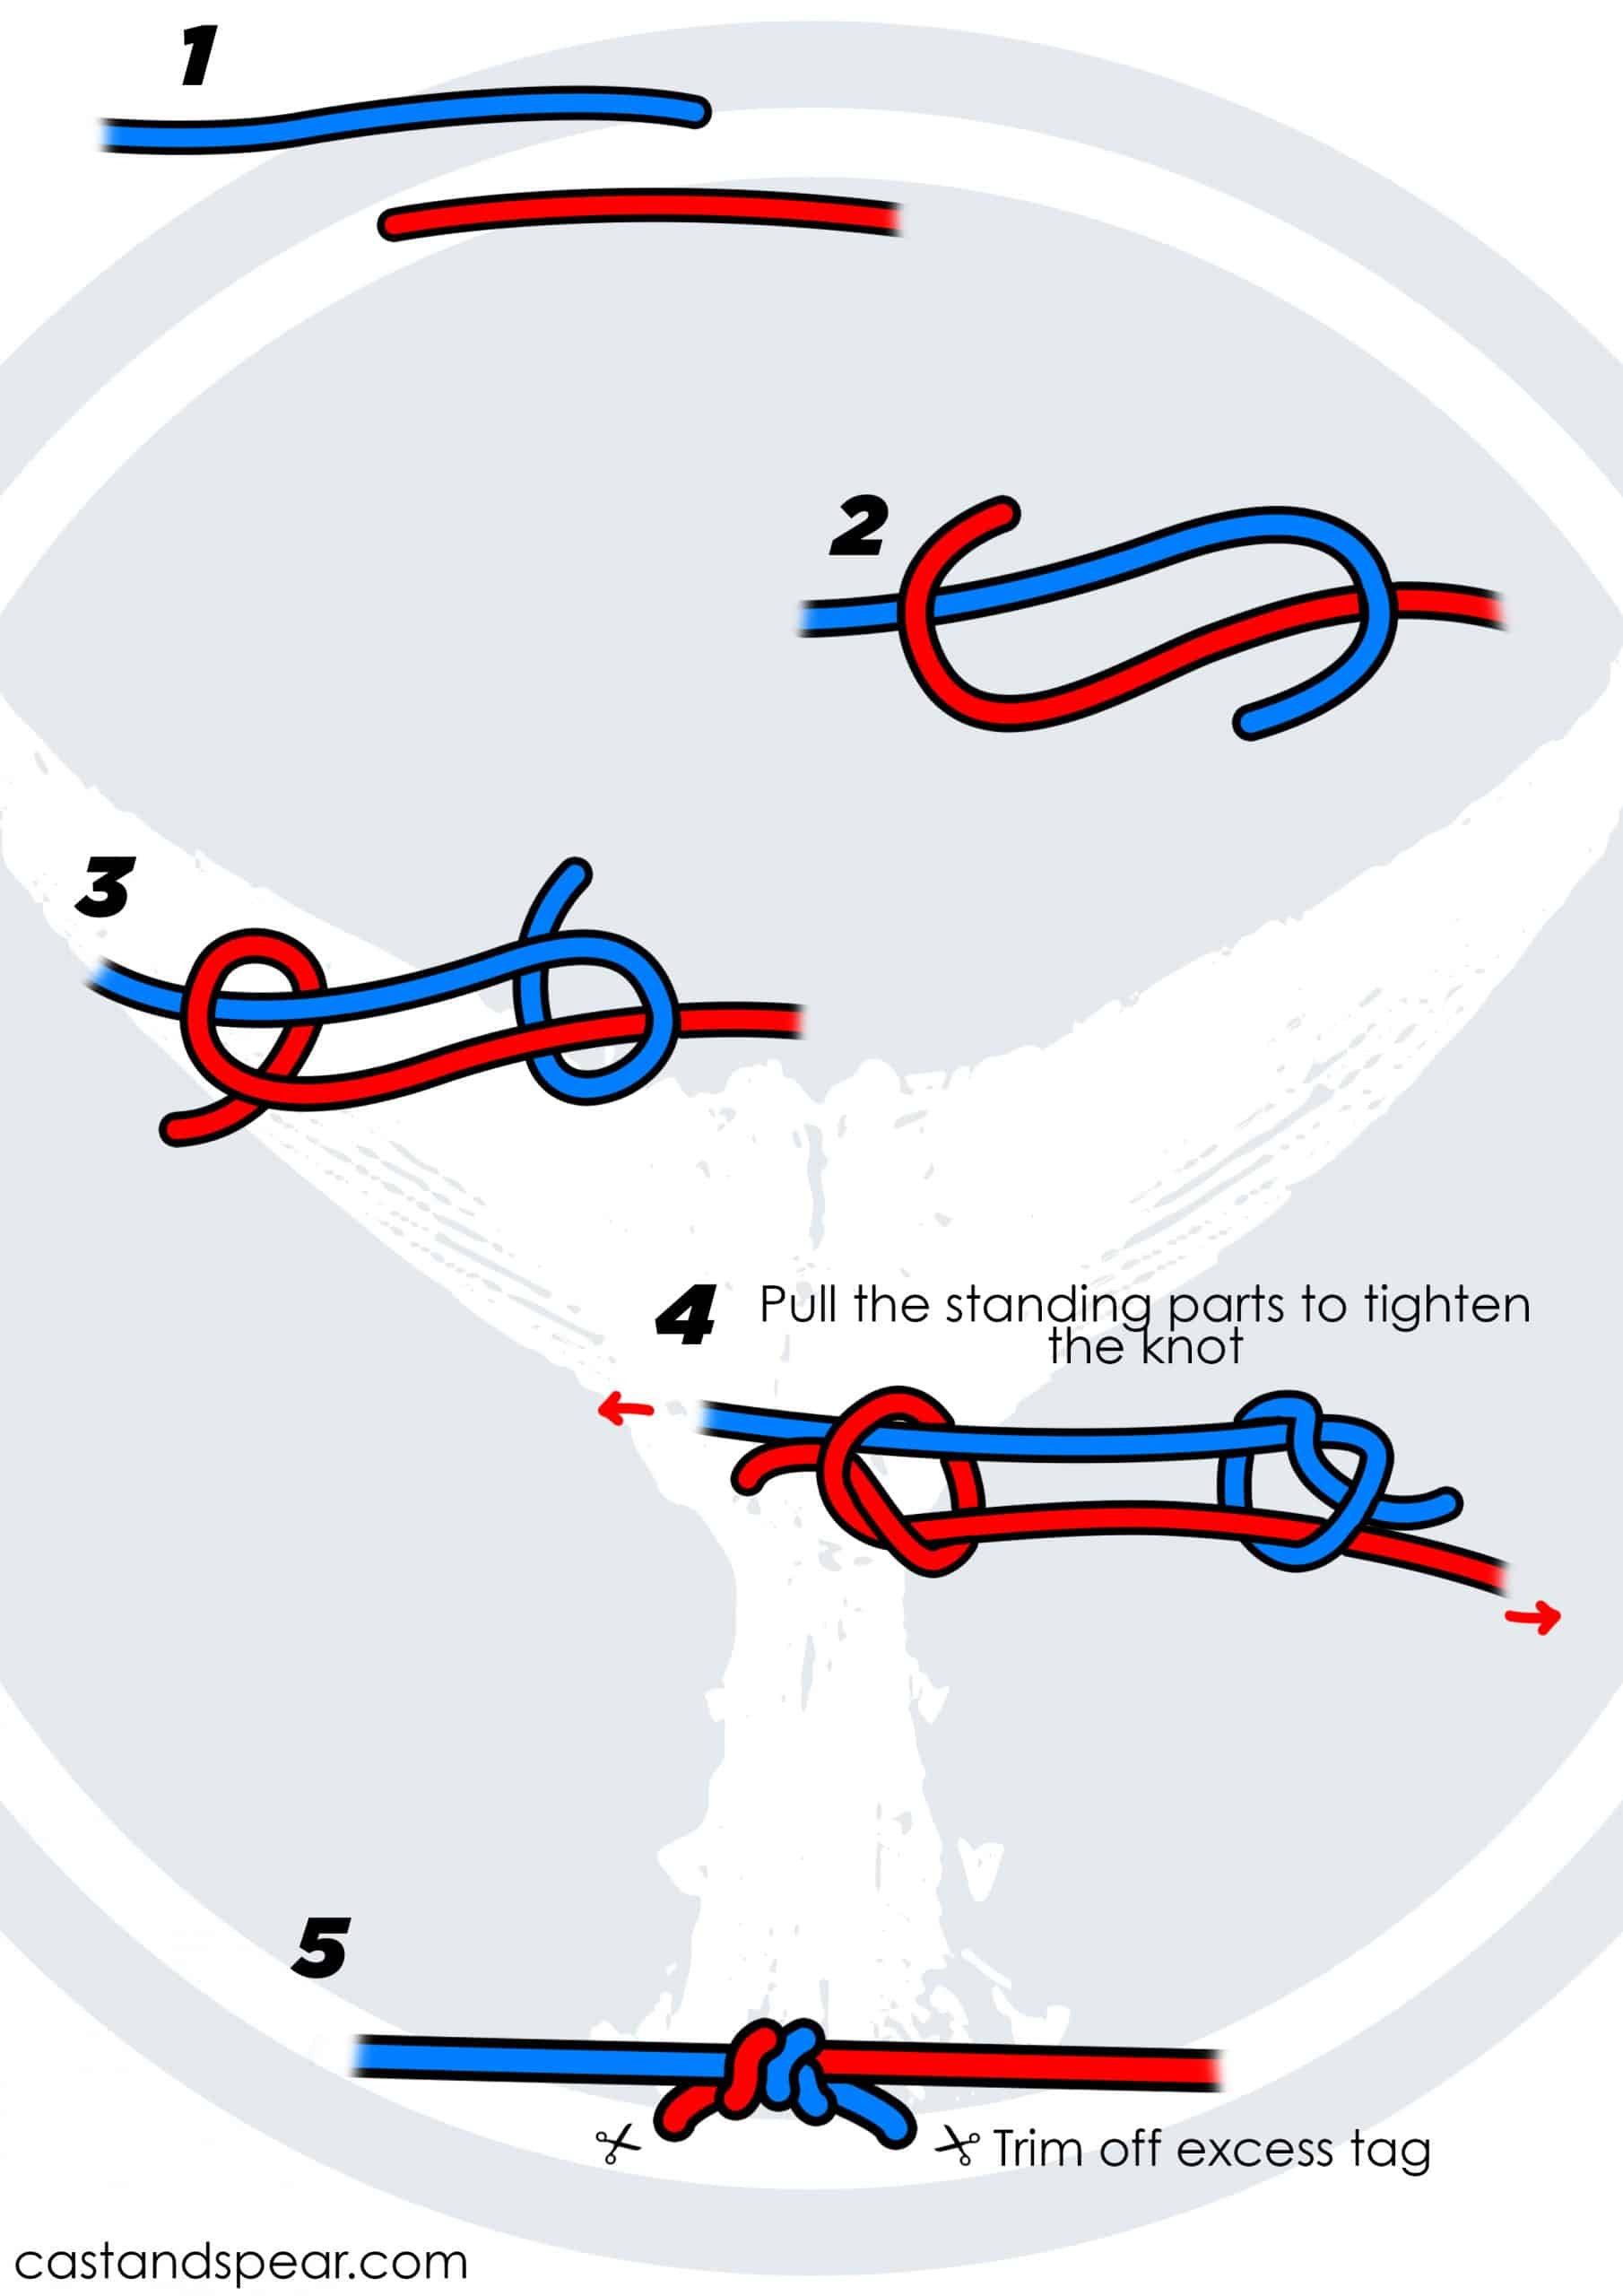
- Cross one end of the rope over the other to form a simple loop. Again, the bottom of the loop is about where your completed knot will be.
- Tuck the rope’s end under the loop and pull it through the rear hole.
- Untie the end of the loop and wrap it back under. The aim is to pass the yarn not once but twice through the loop.
- Pass the rope’s end through the loop the second time. Repeat the steps of the basic overhand knot to create the double loop knot. Pass the yarn through the loop two more times.
- Tighten the rope by pulling two ends of the rope.
- Use the double knot to make bigger stoppers or as a basis for other, more complicated knots. When tied correctly, this works excellently in preventing the rope from going through big gaps or holes.
Double overhand knots can assist you in the formation of two different tied ropes. Such knots are Doubled Fisherman’s Knot and Doubled Noose.
The Double Fisherman’s Knot joins two different ropes with two double overhand loops. Meanwhile, the Double Overhand Noose employs the same basic procedure of double loop. However, it adds an adjustable snare at the rope’s end line.
The double knot is a big stopper, but you may want something bigger. To make this, move the ropes through the loop. Then, tie it as many times as you like to form a triple, quadruple, or even larger knot. It is why we also call these “many overhand loops.”
Tying an Overhand Loop Knot in the Rope’s Center

To finish today’s knot-tying lesson, here are the steps to make an overhand loop knot:
- Bend the string back on itself at the desired tied point, such as the middle. Both sides of the rope should be parallel to each other, with a bend at the end. This sign is referred to as a “bight.”
- To make a loop, tuck the bight beneath the parallel ropes. This is nearly equivalent to a simple overhand knot. This time, though, you’re dealing with two strings at the same time rather than just one. The “standing” rope is the section that rests there while you tie a knot.
- Pull the loop from beneath the standing ropes and into the circle. Once you fold it over, secure the bight back into it. This way, you’ll finish up curling your loop over the parallel ropes, maintaining the loop’s form.
- Adjust the rope with your fingers so that all the seats of two yarns run parallel. As it tightens and is secure, this knot may rapidly become a tangle.
- Tighten it halfway, then massage the knot with your fingertips to make it cleaner and more secure. You want to avoid places where the yarn breaks. Besides, the goal is to get neat pairs of parallel yarn all the way through.
- Secure the knot by pulling the loop down while hanging on to the standing ropes. This will result in the final overhand loop knot. Make any last changes to tidy up the knot, and you’re ready to go.
- To give a grip or avoid slippage, tie a mid-rope overhand knot. You can tie this knot anywhere on the yarn, helpful in pinning rope segments between two tiny holes. You may also use this as a handhold if you need to pull a yarn hard and don’t have a solid grip.
Final Thoughts
Learning how to tie an overhand knot is relatively easy. Yet, you should master this with accuracy through continuous practice. After all, you want your knots to keep things in place, not spontaneously unravel.
So, always consider your location and object to be used while doing a knot-tying method. Fortunately, you can practice making tight knots by using shoelaces and any other similar items.
It is essential for us anglers to know the basics of knots. In case of boating incidents arising, these skills can even save lives.
Never settle for less, and strive to know the technique and tips on knot-tying. You can also check out our fishing knot tutorials.
 Fishing Expert
  Facebook
 YouTube